Wednesday, April 24, 2024

Activities to Encourage the use of Pressure When Writing

Sometimes children don’t use enough pressure when coloring or writing. This may be because of weakness in the hand muscles or because they don’t have a good “feel” for. The writing utensil in their hand. Here are some suggestions to help a child use more pressure when writing.

  • Squeezing a stress ball is good for strengthening the muscles in the fingers and hands.
  • Carbon tracing paper can be purchased at a dollar store or on Amazon. Having your child use carbon paper when writing will help them become more aware of how much pressure they are putting on the pencil or crayon.
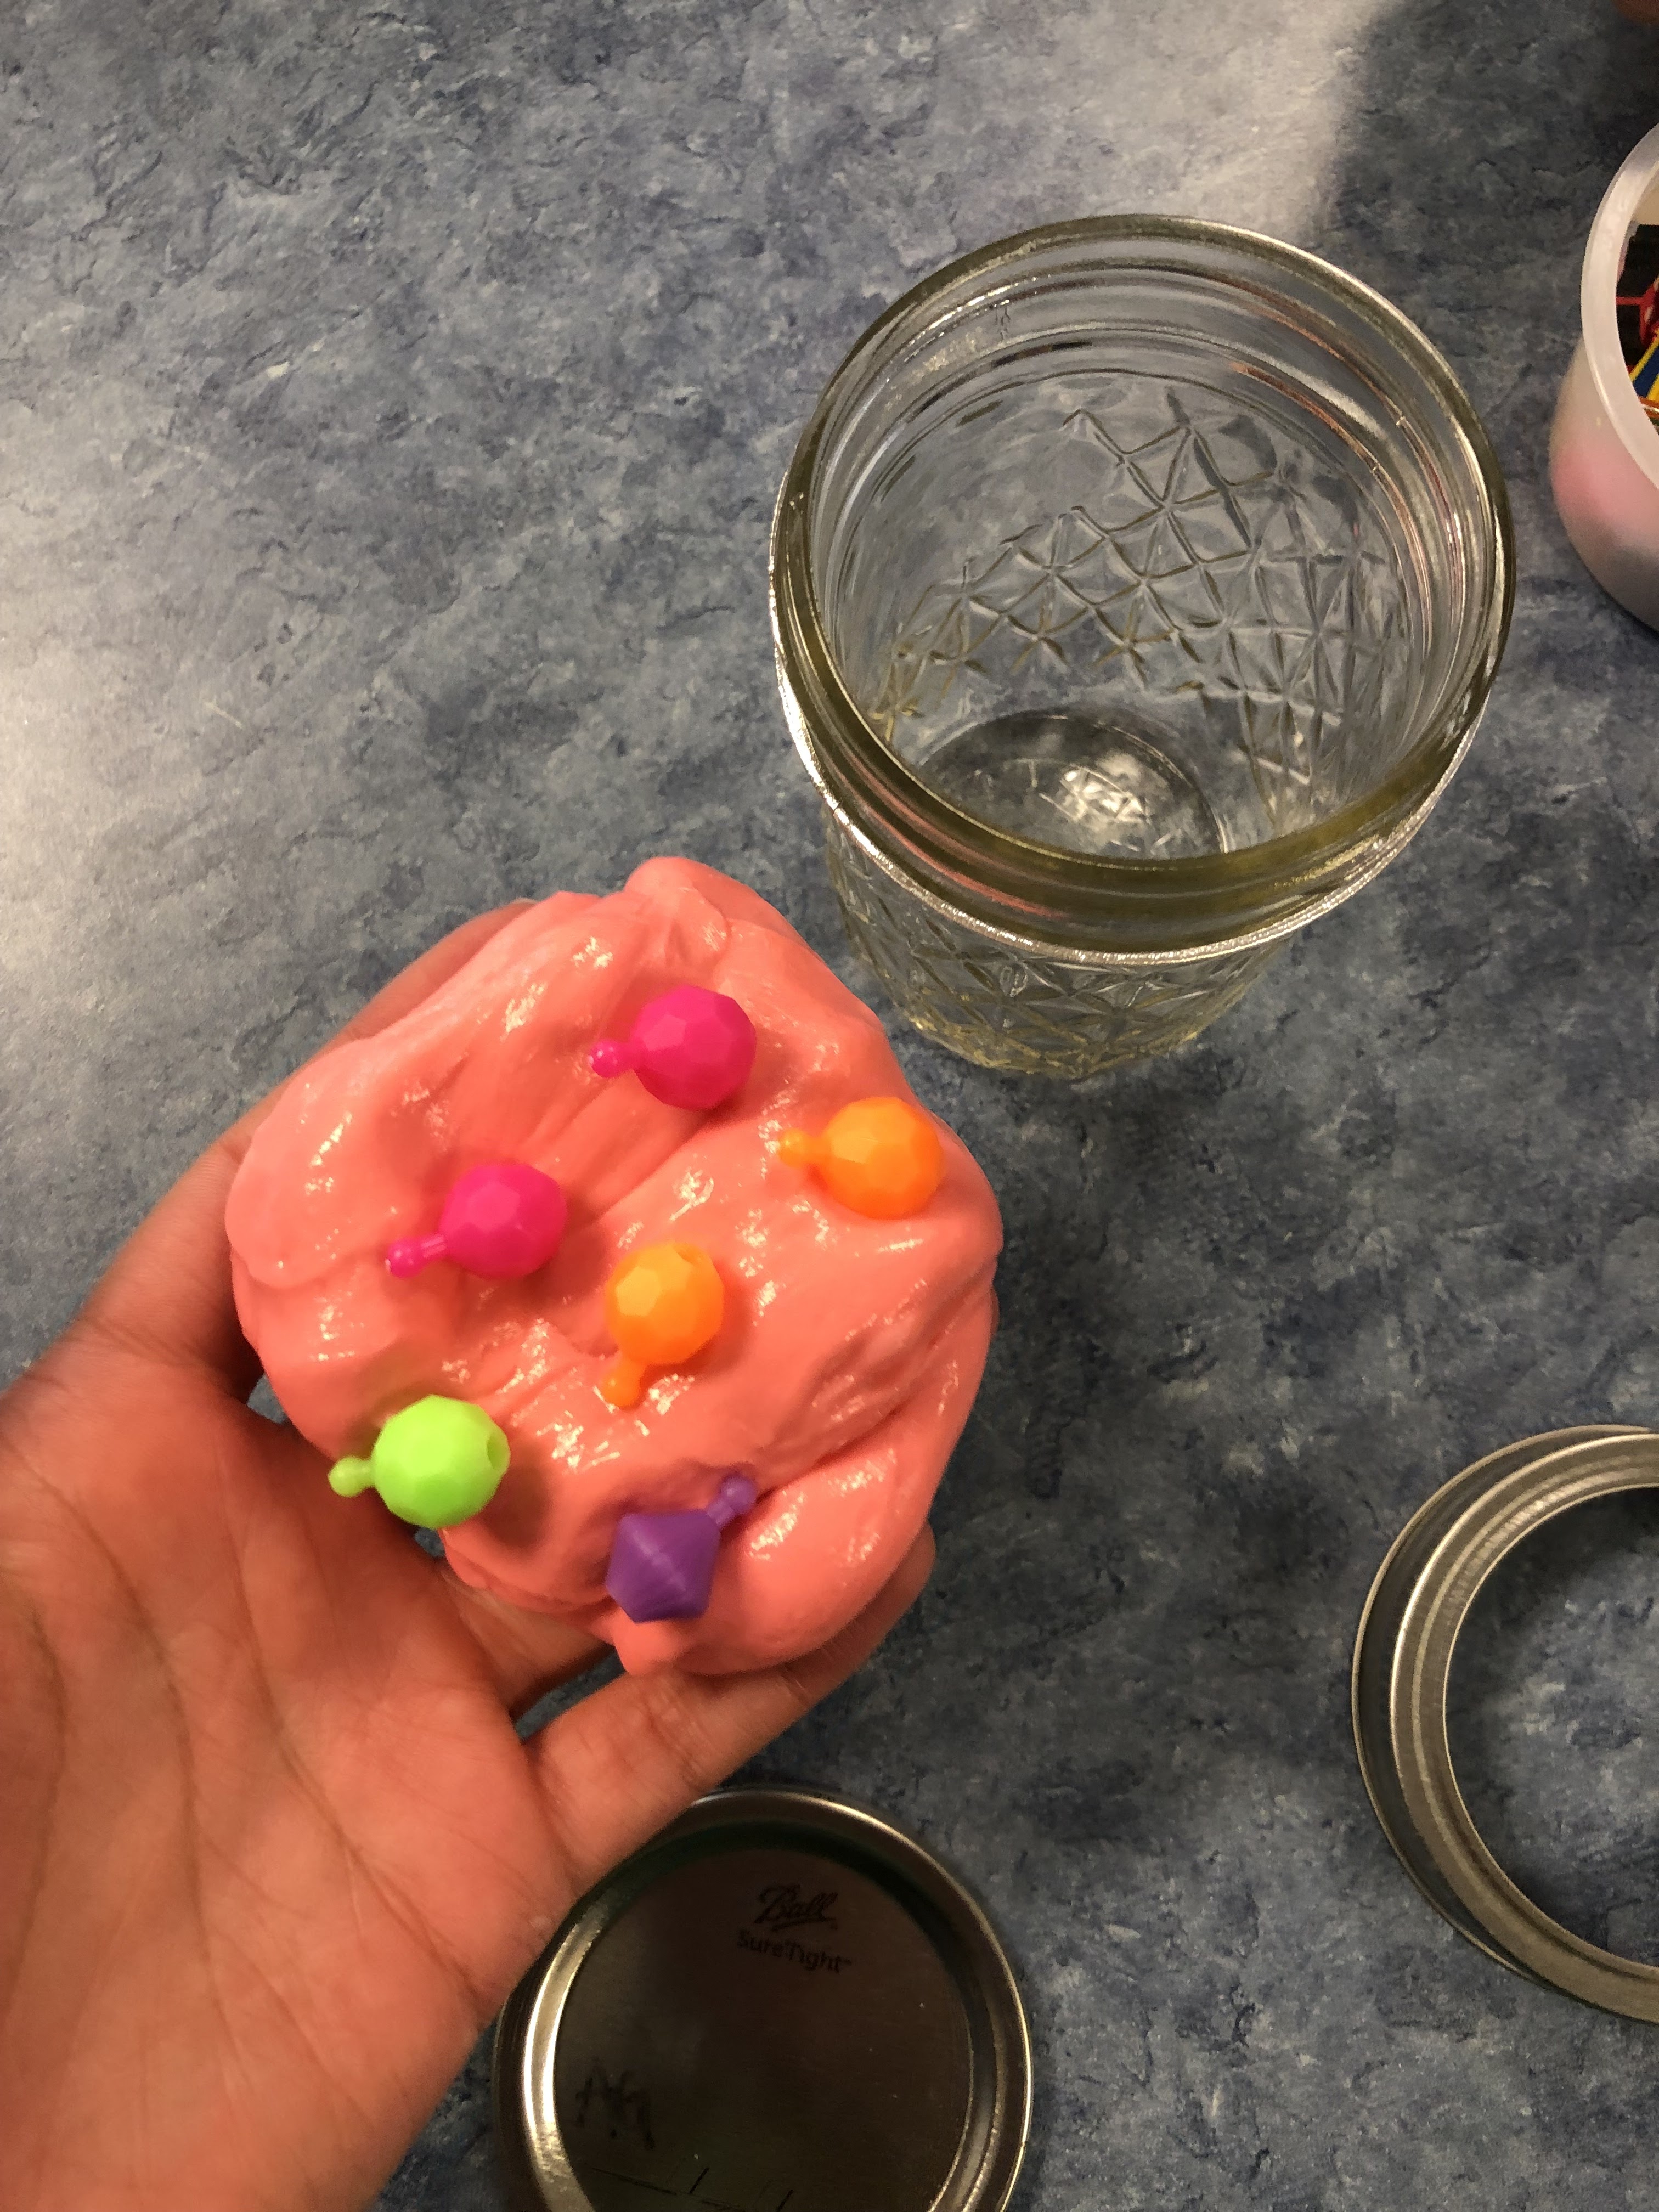
  • Squeezing and manipulating Play Dough is a good hand strengthening activity. You can also hide small plastic beads in the Play Dough and challenge your child to find them.
  • Try having adding some weight to the pencil or crayon. This will provide additional sensory feedback and may result in the use of increased pressure.
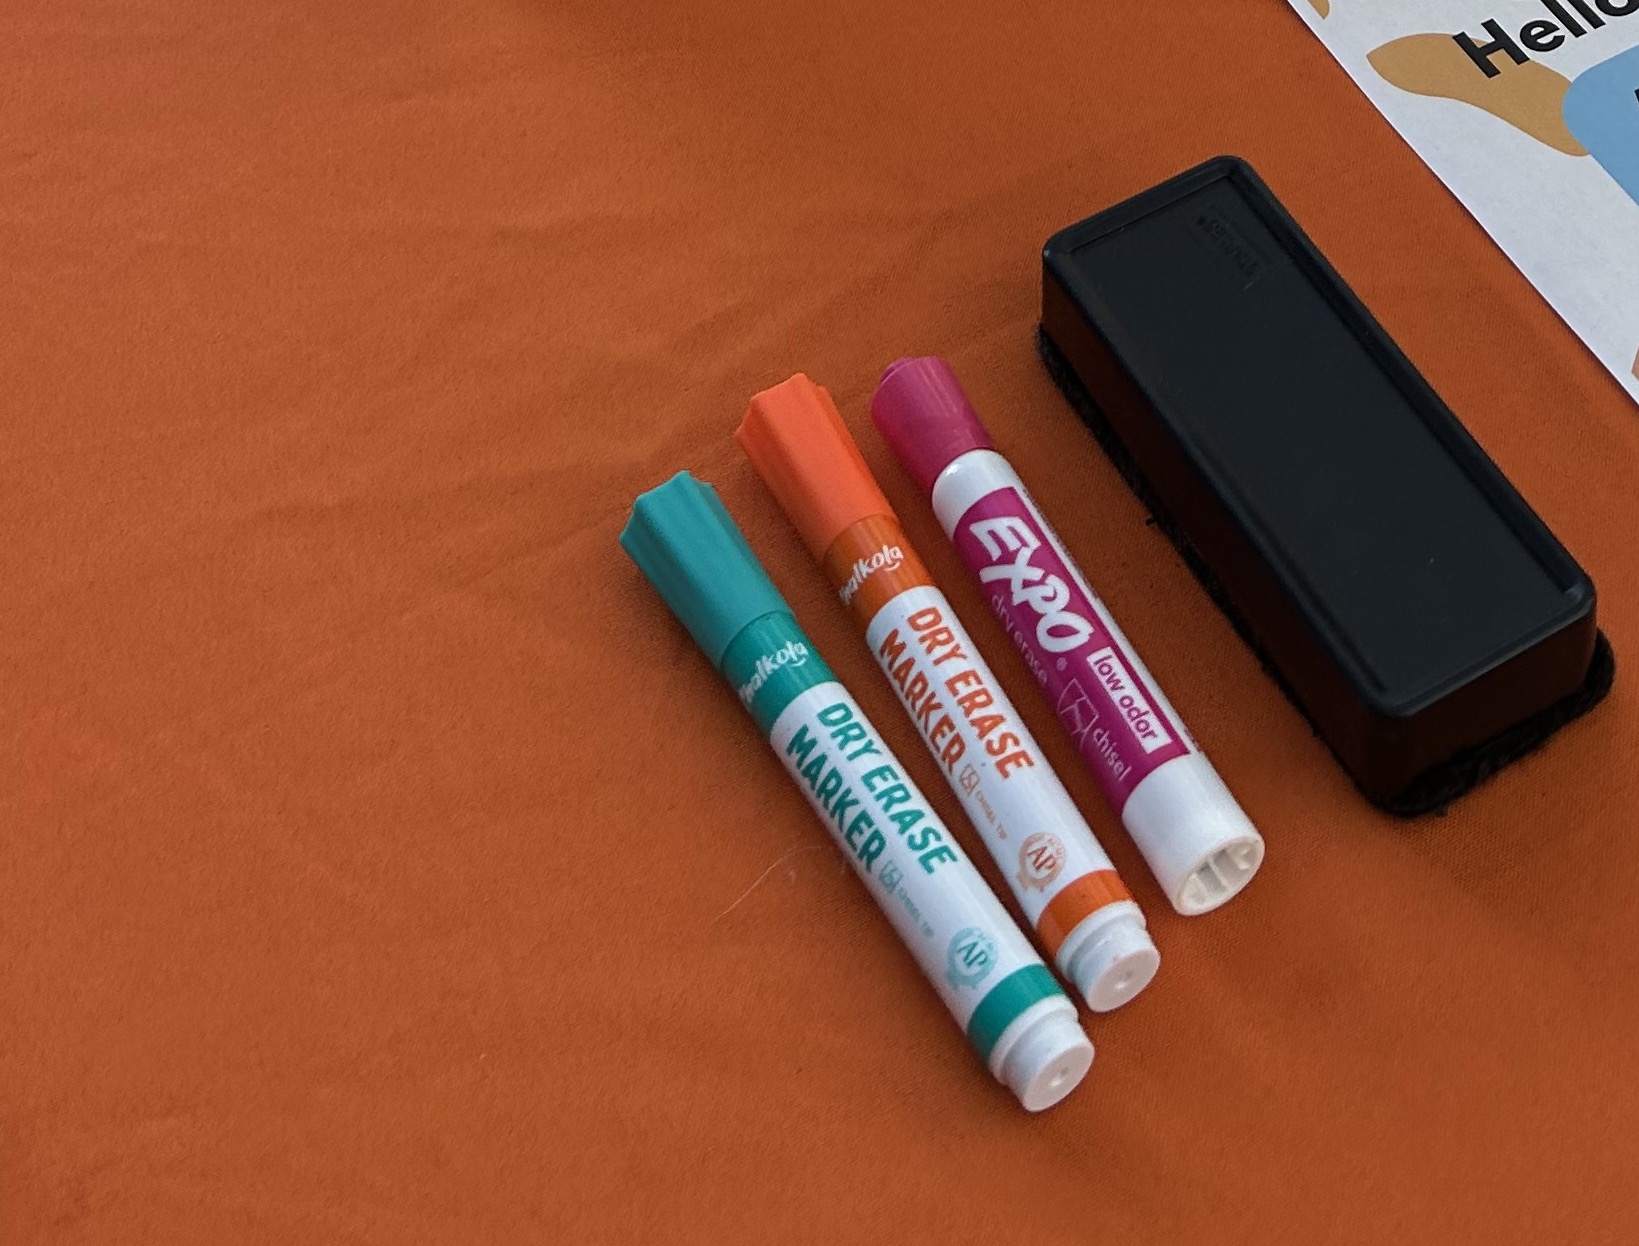
  • Have your child practice writing using dry erase markers on a dry erase board.
  • Place a piece of paper over a piece of sandpaper or a mesh sheet that is used for needlepoint. This will provide sensory feedback when your child writes or colors and help them use more pressure when writing.
  • Vibrating pens also provide sensory feedback when writing and drawing
  • Using a hole punch to make different designs on paper is great for strengthening the hands.


Sunday, April 7, 2024

Feed the Car: A fun In-Hand Manipulation Activity!

"Feed the Car" is a fun and easy DIY in-hand manipulation activity and game for children. Playing this game is a great way to work on counting, pincer grasp, in-hand manipulation skills, bilateral skills, and crossing midline

 Materials Needed:

  • Toilet paper rolls
  • Pompoms, beads
  • Tweezers/Clothes pin
  • Construction paper
  • Printed/laminated cars

Wrap the toilet paper rolls in construction paper and glue or tape in place. Print some fun animated car images, cut them out, and laminate them. Cut out an area that will serve as the "mouth" on each car, and and glue the image to each toilet paper roll. Be sure that the "mouth" lines up with the top hole of the toilet paper roll so that the beads or pom poms will drop into the roll when they are place in the "mouth" of the car. Have fun!!!

How to Play:

Have the child roll the dice and pick up the number of small items (pom poms & beads) that the dice lands on. Next have the child hold the small objects in one hand & bring them out to the fingertips and place a small objects in the cars mouth one at a time. This activity could be adapted by having the child use the tweezers to pick up the items & "feed" the car. 

This project was completed by a Master of Occupational Therapy student at The University of Tennessee Health Science Center and posted with permission.

Wednesday, February 14, 2024

Please Vote for the Tummy Time Trainer!!!

Click HERE to vote for the Tummy Time Trainer!!!

Does your baby struggle with tummy time! Unfortunately, many infants dislike being positioned on the stomach for play, but it is critical that they are exposed to tummy time starting from the first days of life. Why? Because tummy time promotes head control, and strengthens the trunk, shoulder, arm, and hand muscles, and all of these are important for the development of important milestones such as rolling over, crawling, and pulling up.

Because I see so many babies who resist tummy time, I created the Tummy Time Trainer, which has recently been patented. The Tummy Time Trainer transforms tummy time into an enjoyable experience for both infants and parents. Here are the benefits of the Tummy Time Trainer:
 
·      Created by a pediatric occupational therapist (me!)
·      Customized design
·      Tailored support
·      Provides a nice lift to the chest
·      Strengthens infant’s neck, back, shoulder, and hand muscles
·      Helps develop head control
·      Special contours allow baby to bear weight on elbows and hands

The angle of the wedge positions baby so that the weight is shifted toward the hips which makes holding the head upright easier.  
The Tummy Time Trainer is not on the market yet, but it has been entered a contest called “What’s the Big Idea?” Please take a minute to vote for it by clicking HERE, entering your email address, clicking on the circle next to Tummy Time, and then clicking submit. Please vote once a day from today through this Saturday, February 18th…and please share. :)

To watch a brief video about the Tummy Time Trainer, click HERE.

Creative Ideas for Tummy Time Fun!!!

When implementing tummy time with your baby, it's a good idea to get creative! Creativity can be helpful because many infants resist being positioned on the stomach for play. That is because they often aren't familiar with the position, so it is difficult for them. Yet, tummy time is extremely important because it promotes head control, and strengthens the trunk, shoulder, arm, and hand muscles.

Here are some tips for helping your infant better tolerate tummy time!

1. Start early! You can initiate tummy time during the first days of your infant's life. When you are in a reclined position, place your baby on your chest so that the two of you can see eye to eye! Yes, this counts as tummy time.

2. Take it slow. You may have to start with sessions that are only 15 to 30 seconds long. That's okay! Your infant's tolerance will gradually improve and as that happens, you can stretch time of each session.

3. Mix it up. Tummy time does not have to take place on the floor. You can position your baby on the tummy across your lap when you are seated, when you are holding them, or even on a therapy ball.

4. Always provide direct supervision during tummy time. If your infant starts to fuss or cry, don't hesitate to change their position. It's not a good idea to force tummy time, as this might cause your baby to resist the position even more.

5. Get creative! As you can see in the photo above, you can incorporate entertaining activities, siblings, and even pets into your infant's tummy time sessions! Do you have any creative suggestions for tummy time? I would love to hear them. Feel free to share your ideas below.


Monday, January 8, 2024

Make your own Dino Rescue game!

 You can create a dinosaur board game just like this!

Materials:
Cardboard
Construction paper
Clothespins
Large die
Small plastic dinosaurs
Images were downloaded from free online resources
Glue

Create the game cards by including different activities. Examples are: “Stretch tall like a brachiosaurus; Bad weather ahead! Go back 3 spaces; Add a piece to the puzzle; Stretch like a stegosaurus. Do 5 cat/cow poses.”

The object of the game is to make it all the way around the board before the volcano puzzle is complete. This is a wonderful activity that works on taking turns, visual perceptual skills (completing the puzzle), fine motor skills (squeezing and placing the clothespins), learning colors, counting, and much more!

The game’s directions are as follows: 

1. The youngest player goes first.
2. All dinosaurs begin at the starting square.
3. Roll the dice to see how many spots to move.
4. Draw a card corresponding to the color you land on.
5. Follow the card’s instructions.
6. Reach the island of safety by making it all the way around the board.
7. Reach the island of safety before the volcano puzzle is complete!

UTHSC MOT student, Allison Hyatt
Class of 2025

This project was completed by a Master of Occupational Therapy student at The University of Tennessee Health Science Center and posted with permission.

Saturday, December 30, 2023

DIY Dry Erase Slant Board!

Check out this DIY reusable slant board that does not require paper to write on! The slant board is made from cardboard, and the writing surface is wrapped with a sheet protector so that it can be written on with dry erase markers, and therefore erased and reused. 

Using a slant board for coloring or writing tasks puts the wrist in a slightly extended position which helps a child move their wrist in a fluid motion when forming letters and promotes a more refined pencil grasp. Additionally, a slant board positions the writing surface in the line of vision which promotes an upright posture. Slant boards are also great for reading!

This project was completed by a Master of Occupational Therapy student at The University of Tennessee Health Science Center and posted with permission.

Tuesday, November 28, 2023

Therapy on a Shoestring Budget: Homemade Therapy Putty

Here is a recipe for homemade therapy putty that every pediatric occupational therapist needs!


Ingredients     


4-ounce bottle of Elmer's glue
1/4 cup cornstarch
1/4 teaspoon borax
1/4 cup of hot water
3-4 drops of food coloring

Directions
Pour 4-ounce bottle of glue into bowl

Measure 1/4 cup of cornstarch and pour into same bowl
Add 3-4 drops of food coloring to bowl
Stir until everything is mixed
Measure & pour 1/4 teaspoon of borax into a separate bowl
Measure & pour 1/4 cup of hot water into bowl with borax
Mix the hot water & borax together until everything is dissolved
Once borax is dissolved, pour into bowl with glue/cornstarch
Knead the combination until putty becomes firm
Add beads or other small objects of your choice  
Seal in an air tight container 

Have fun with the putty! 

Guest post by UTHSC MOT students: Aliyah Hanks, MOT/S & Akosua Odei, MOT/S